Sunday 23 February 2014

Personalised 'doggie' bags

Living in Dubai, it seems that there is always someone moving away. This month is no exception. So what to make as a leaving gift?

My friend, Kay has the cutest little sausage, so here's what I came up with...

The inspiration

Denim and leather effect tote with removable doggie brooch

Linen purse with applique 'sausage'

Finished Kaleidoscope quilt


Finished at last!


This was one of my most favourite quilts to make. Each block ends up so different that you never get bored.

Tutorial: Cushion cover with buttons


Note: I have used 2 fabrics for my cushion. A printed linen for the front and a plain linen for the back. 


1. Measure your cushion and cut your fabric:

  • When measuring your cushion, make sure to measure from one side seam to the other and remember it is nicer to have a slightly tighter cover than a baggy one. 

  • For example:
If your cushion insert is 40cm x 40cm-
Cut one square for the front of the cushion 42cm x 42cm (add 1cm each side for the seam allowance).
Cut one rectangle for the back of the cushion 42cm (same width) x 54cm (add 12cm), then cut this rectangle in half so you have 2 pieces of 42cm x 27cm.

2. Prepare the back panels:


  • On one 42cm side of the two back pieces, turn the raw edge to the wrong side by 1cm and press. Then turn a down by a further 3cm and press again. 

  • Sew along the length of the inside gold to secure. Make sure to choose a matching thread as you will see the thread on the outside. 


3. Buttonholes:


  • On ONE of the back pieces, on the side you have just sewn, place one button in the center (of the folded section) and the remaining two on either side, equally spaced out. Mark the placement. 

  • Sew your buttonholes on this piece. Make sure the buttonhole is parallel to your previous line of stitching and that it is in the middle of the stitched line and the folded edge. 

  • To open your buttonholes, place a pin through the center of the buttonhole and use an unpicked to rip through the fabric in the center. The pin at the end will stop you from cutting the stitches at the end of the hole. 


4. Assembly:


  • Place your back piece with the buttonholes over the folded and sewn edge of the remaining back piece so that the folded edge of the buttonhole piece just covers the stitching on the underneath piece. Make sure it is straight and pin together. 

  • Place your front square right sides together on top of the back piece. Trim any discrepancies and pin all the way around. 

  • See around the 4 edges with a 1cm seam allowance. 

  • Zig zag or overlock around the 4 edges to avoid fraying. 


5. Finishing:


  • Turn the cushion through to the right side. Push the corners out and press the seams. 

  • Lay the cushion cover flat and make sure the two back pieces are lined up correctly. Push the buttonholes open slightly and mark the center of each hole on the fabric underneath. This is where you will see your buttons onto. 

  • Sew the buttons on and you're done! 


Colourful collections...


Tokyo; 'Moomin' quilts, washi tape, raw chicken and more...

I recently got back from a few days in Tokyo... which was brilliant fun!

We saw a few sights, ate some strange things (see below!) and (fabric) shopped till we dropped!


Raw chicken!!!


Bento box!


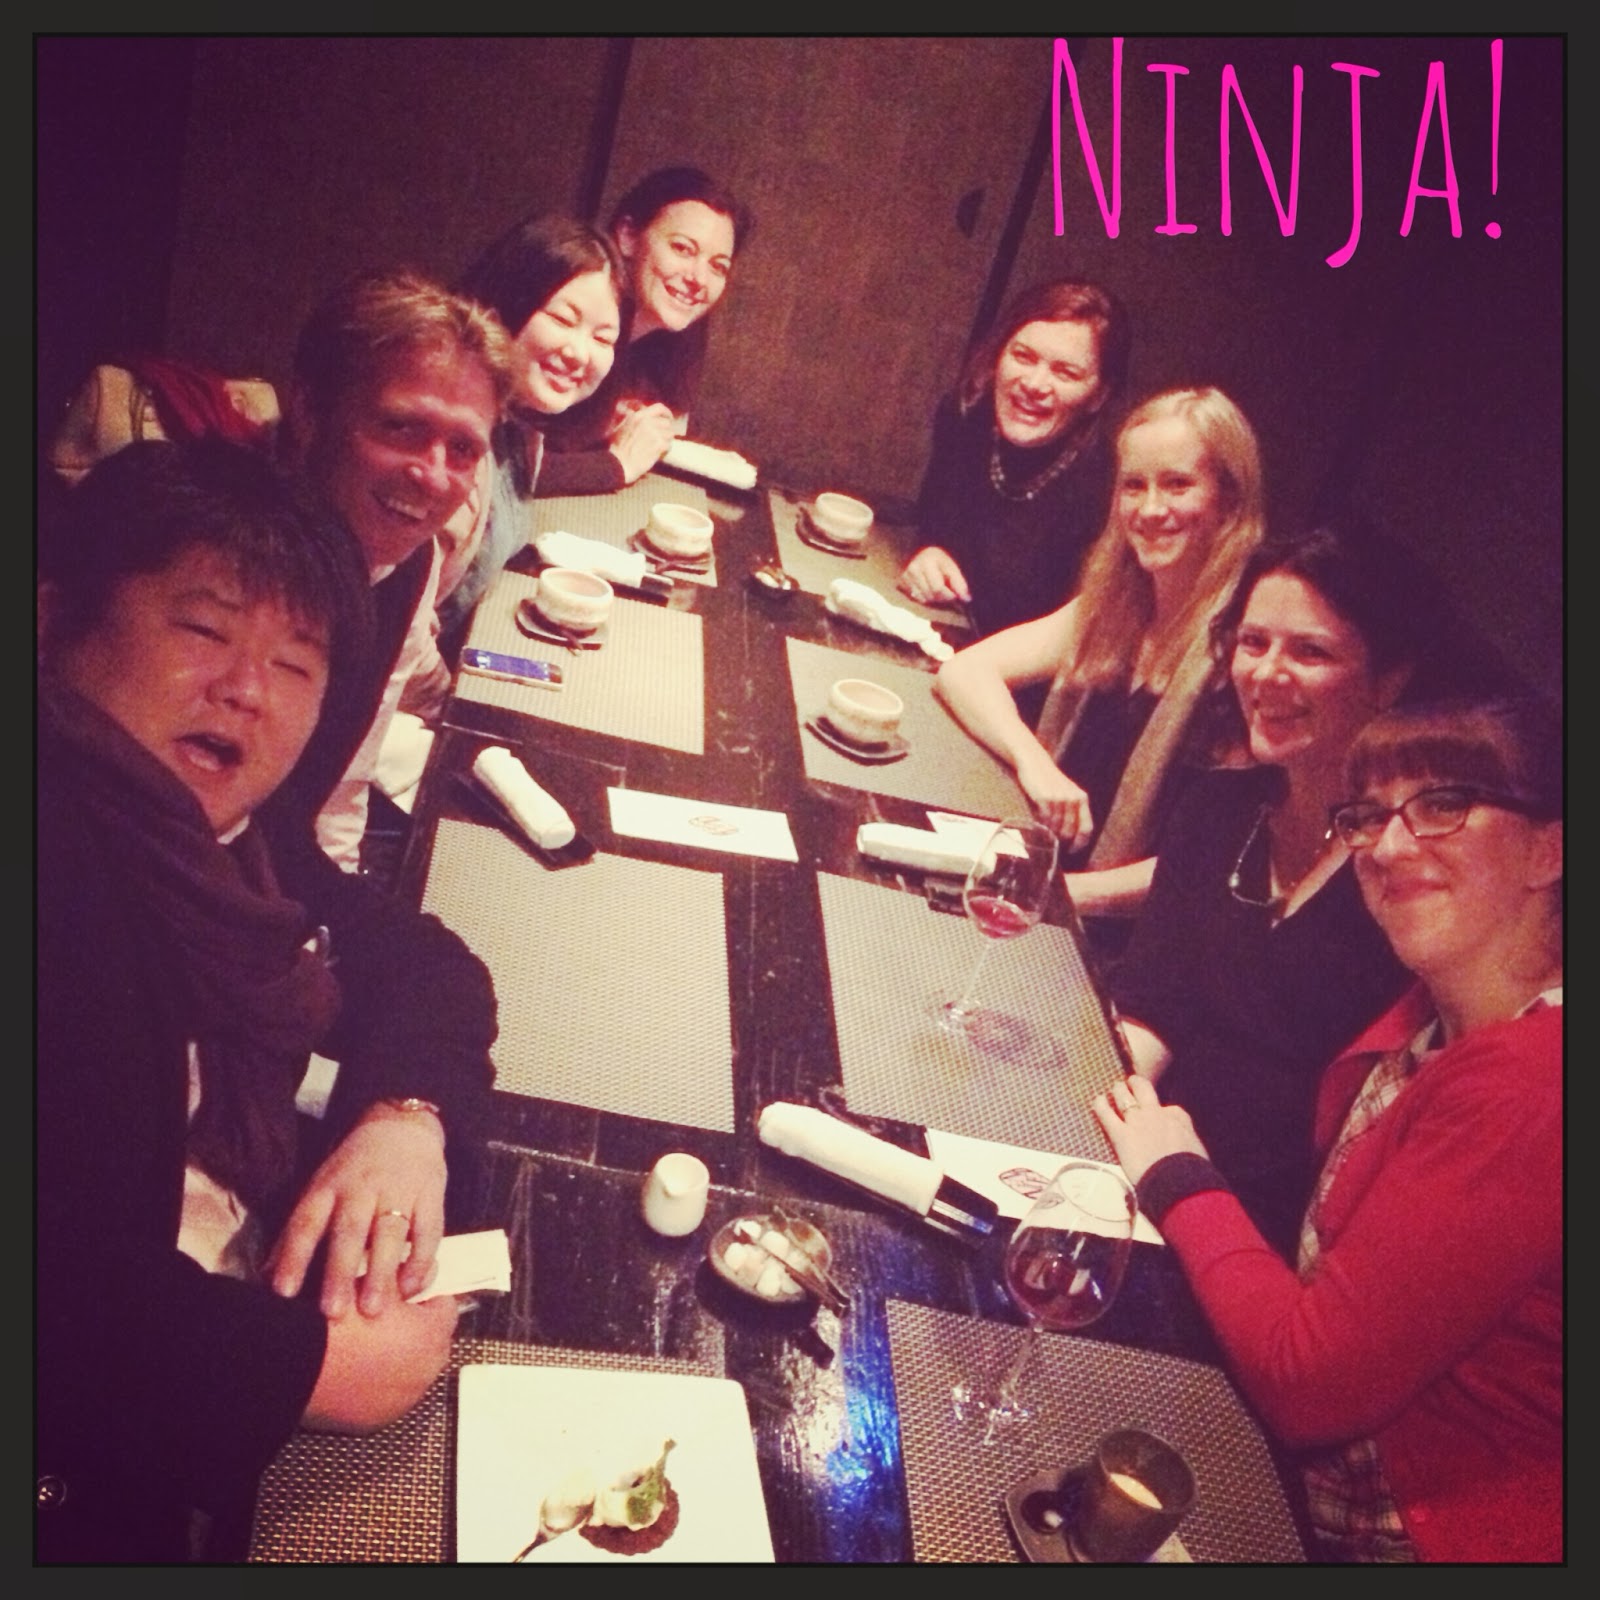
Every town should have a ninja restaurant!


I need this!


The main reason for going was to visit the Tokyo Quilt Show and it didn't disappoint. The theme for this years show seemed to be the Swedish cartoon 'Moomin', although it was difficult to tell as all the signs were in Japanese! The 'Moomin' quilts were super cool and the level of detail quite amazing...


The Tokyo quilt show 2014


Here's a photo of my favorite 'quilt'...


Wow!


This piece really challenges the traditional take on quilting. It is made up of tiny hand-pieced balls made out of Japanese silks, hand-sewn to a backing of pain silk. Each ball was about one inch wide and there were hundreds, if not, thousands of them! It created a beautiful three dimensional texture on the wall that changed as you walked around it.

Another favourite area of mine was the indigo quilts...


All the quilts in this area were made of hand-dyed indigo fabrics. The color of the dye was so rich and full that the quilts seemed to glow. Each dye is slightly different and most of the quilts here were pieced with tiny pieces of fabric with slightly different dye colors. This gave the quilts a natural depth and flow.
 
Here's a few more of my favorites...


As you can see, the standard was truly amazing and there were some beautifully designed and made quilts. Almost all of the quilts were made by hand, partly due to the fact that Japanese apartments are too small, even for a sewing machine. 

When we weren't at the Quilt show, we were probably out fabric shopping! Nippori, the fabric district was one of the best places I've ever been for fabric. You could get anything and everything, from ombré leather skins and Japanese silk to metallic linen and quilting cotton. 
My kind of town!


Leather heaven


Nackered after a hard day of shopping!


Our spoils


Unpacking my stash was fun...


Now...what to make first?